
Below are the setup steps for configuring SMS2VPS on your Android device and server.
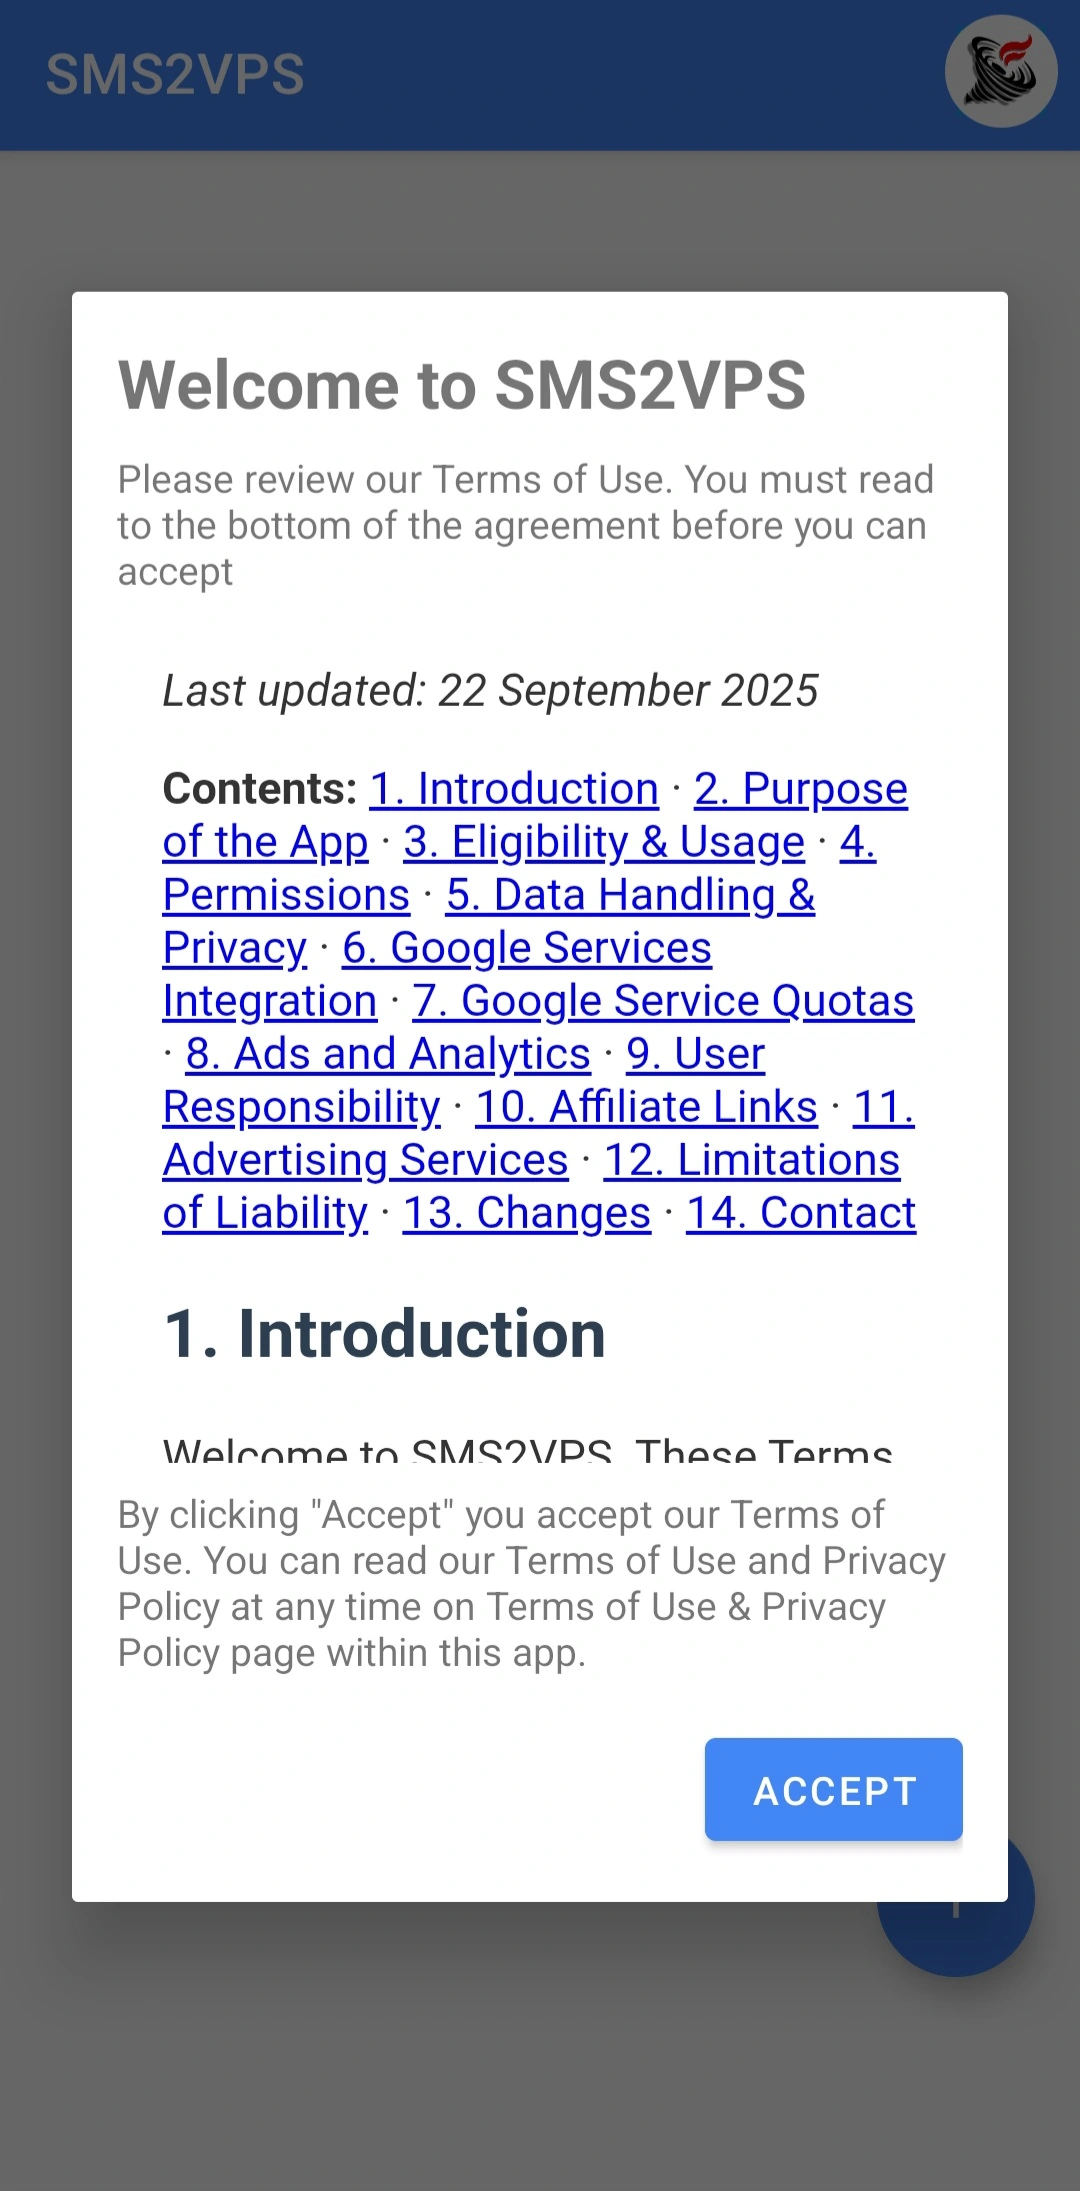
Step 1: Grant SMS Permissions and Set SMS2VPS as Default SMS App


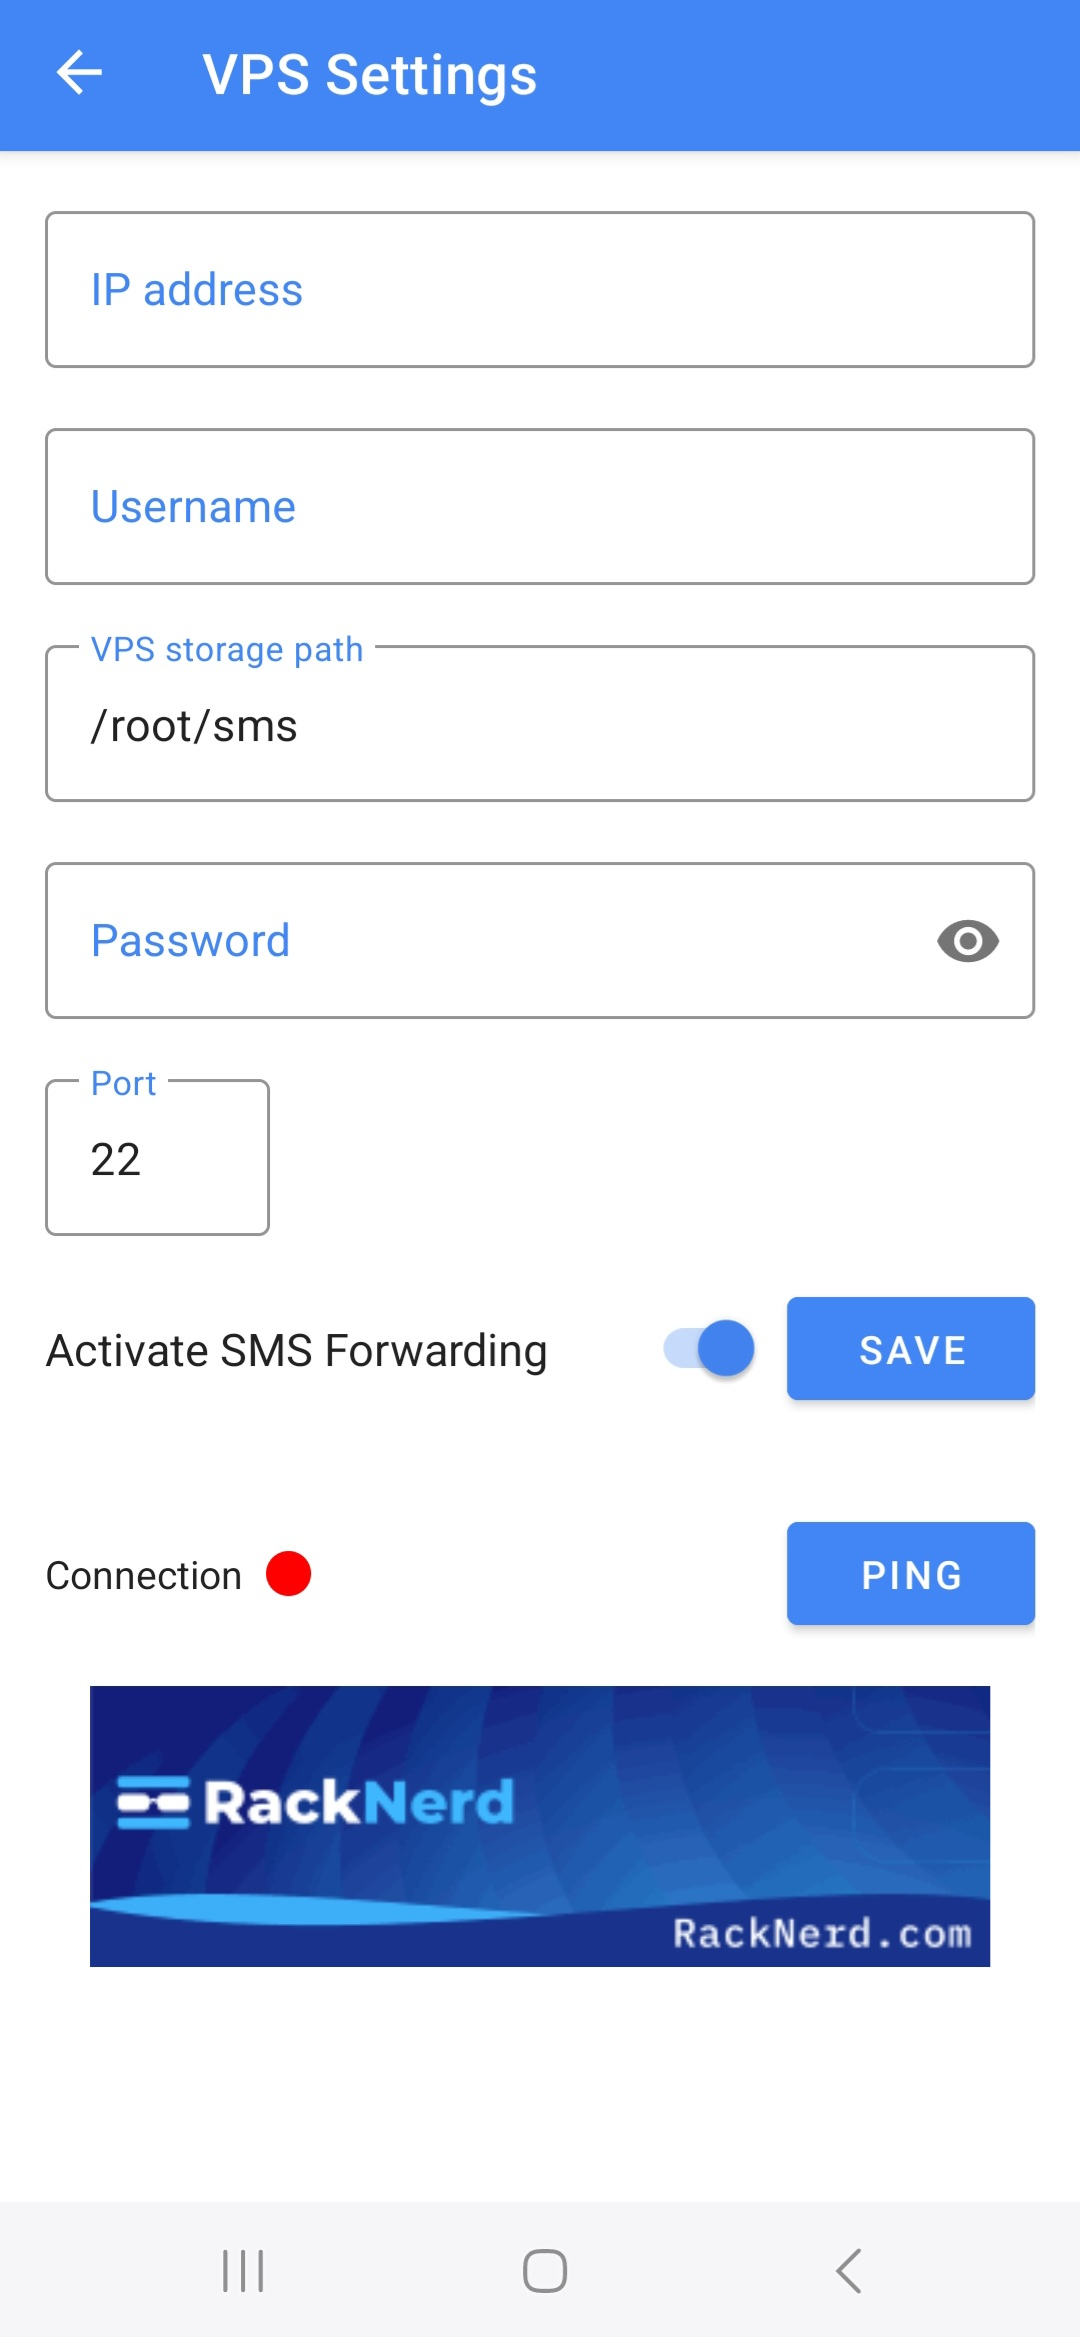
Step 2: Configure VPS Settings

Helpful VPS Commands
Use these commands on your VPS to find the required connection details:
curl -s https://api.ipify.org
hostname -I | awk '{print $1}'
whoami
echo $HOME
pwd
💻 Can I Synchronize SMS to My Windows 11 Computer?
Yes, absolutely! SMS2VPS can synchronize your Android SMS messages directly to your Windows 11 computer by leveraging the built-in OpenSSH Server feature. This transforms your Windows PC into a receiving server for your text messages, eliminating the need for a traditional Linux VPS.
🔧 Step-by-Step Setup Guide for Windows 11
Step 1: Enable OpenSSH Server on Windows 11
- Open Settings → System → Optional features
- Click "View features" next to "Add an optional feature"
- Search for "OpenSSH Server" and check the box
- Click "Next" then "Install"
- Wait for installation to complete (may require restart)
Step 2: Start and Configure OpenSSH Service
- Press Win + R, type
services.msc, and press Enter - Find "OpenSSH SSH Server" in the list
- Right-click → Properties
- Set Startup type to "Automatic"
- Click "Start" to start the service immediately
- Click "Apply" and "OK"
Step 3: Configure Windows Firewall
- Open Windows Defender Firewall → Advanced settings
- Click "Inbound Rules" in the left panel
- Find "OpenSSH SSH Server (sshd)" rule
- Ensure it's enabled (green checkmark)
- If not present, create a new inbound rule for port 22
Step 4: Find Your Windows PC's IP Address
- Open Command Prompt (press Win + R, type
cmd) - Type
ipconfigand press Enter - Look for "IPv4 Address" under your active network adapter
- Note this IP address (e.g., 192.168.1.100)
Step 5: Create a Destination Folder for SMS Messages
- Create a folder on your Windows PC, e.g.
C:\SMS_Backup - Right-click the folder → Properties → Security tab
- Ensure your Windows account has Full control
- Note the full path for SMS2VPS configuration
Step 6: Configure SMS2VPS App Settings
- Open SMS2VPS app on your Android device
- Go to VPS Settings
- Enter details:
- Host: Your Windows PC IP (192.168.x.x)
- Port: 22
- Username: Your Windows account name
- Password: Your account password
- Remote Directory: /c/SMS_Backup
- Tap "Test Connection"
- Tap "Activate SMS Sync"
⚠️ Important Considerations
- Works best on the same local network (WiFi)
- Use a strong Windows password
- Some antivirus blocks SSH temporarily
- PC must remain powered ON
- Use Unix-style paths (/c/folder)
- Consider setting a static IP
💡 Advantages
- No VPS subscription cost
- Instant local access
- Total data control
- Easy browsing via File Explorer
- Can integrate with your Windows scripts
- Offline availability
🔍 Troubleshooting
Connection Refused:
- Check OpenSSH service
- Check Firewall inbound rule
- Ensure same network
Authentication Failed:
- Incorrect username or password
- User must have SSH access
Permission Denied:
- Folder must exist
- Correct Unix path: /c/SMS_Backup
This guide turns your Windows 11 PC into a secure SMS backup server without VPS costs.